Quick Start Guide
In this Quick Start guide we'll connect the SparkFun CO2 Sensor - STCC4/SHT40 (Qwiic) to a SparkFun RedBoard IoT - RP2350 and measure CO2 concentrations along with temperature and humidity using the SparkFun STCC4 Arduino library. This guide assumes users have a working knowledge of the Qwiic ecosystem, Arduino IDE and using Arduino libraries. If you're not familiar with those topics or want to learn more about this Qwiic CO2 breakout, we recommend reading through the other sections of the Hookup Guide.
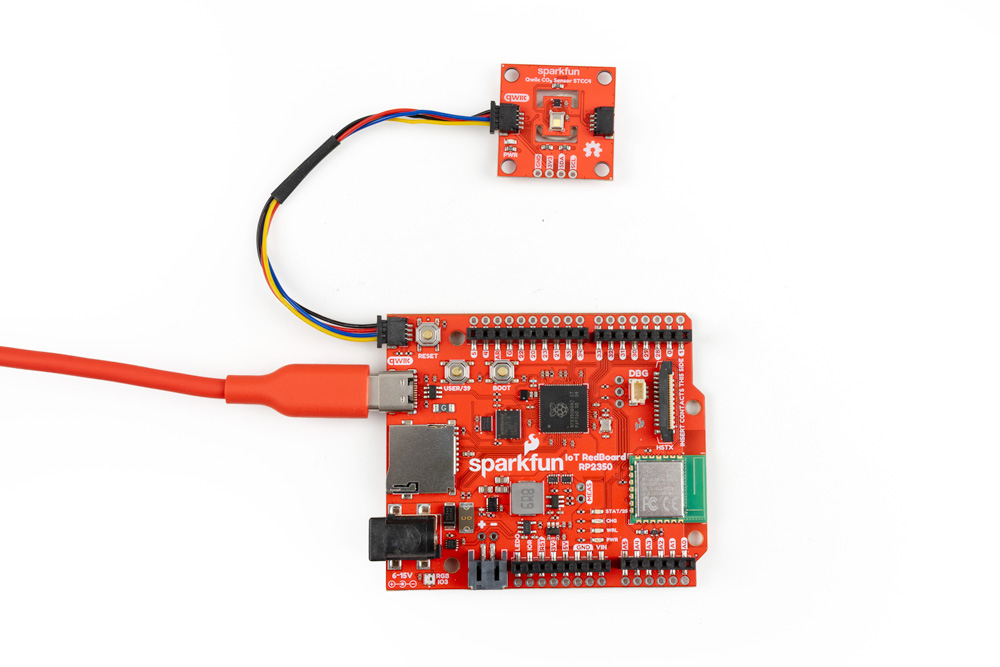
Qwiic Assembly
Since this is a Qwiic breakout, all we need to do is connect it to the RedBoard using a Qwiic cable and then plug the RedBoard into a computer over USB:
Arduino Example - Basic Readings
With everything wired up, let's use the first example in the STCC4 Arduino library to get CO2, temperature and humidity data.
- Open the Arduino IDE
- Install the SparkFun STCC4 Arduino library by searching for "SparkFun STCC4" in the Libraray Manager tool. Note, this library requires the SparkFun Toolkit to be installed as well. Install that library by searching for "SparkFun Toolkit" in the Library Manager.
- Open "Example01-BasicReadings" from the STCC4 library. Select your Board and Port and click the "Upload" button.
- After the code finishes uploading, open the serial monitor with the baud set to 15200.
You should see readings for CO2 in ppm along with temperature in °C and humidity in %RH. On first-time power up of the STCC4, the manufacturer recommends an initial warm up period with the sensor operating in continuous measurement mode for 12 hours before CO2 measurements achieve full accuracy. When powered down for more than three hours, the STCC4 can take up to an hour of operation to reach full accuracy. The sensor self-calibrates by assuming it sees fresh air (~400 ppm) at least once per week. The very first 20 seconds after the first ever power-up output a fixed bypass value of 390 ppm.